Setting Up Channel & Workstream After Expiration
Create Custom Channel in Dynamics 365:
- Login into your dynamics 365 organization account https://www.microsoft.com/en-us/dynamics-365/products/customer-service and go to “Apps” > “Customer Service admin center”
- Now on the left side go to “Channels” under “Customer support” and on that page click on “Manage” under “Accounts” > “Messaging accounts” and create a new account.
- Follow these details:
- Channel Details:
- Name → Your preferred name
- Channel → “Custom”
- Account Details:
-
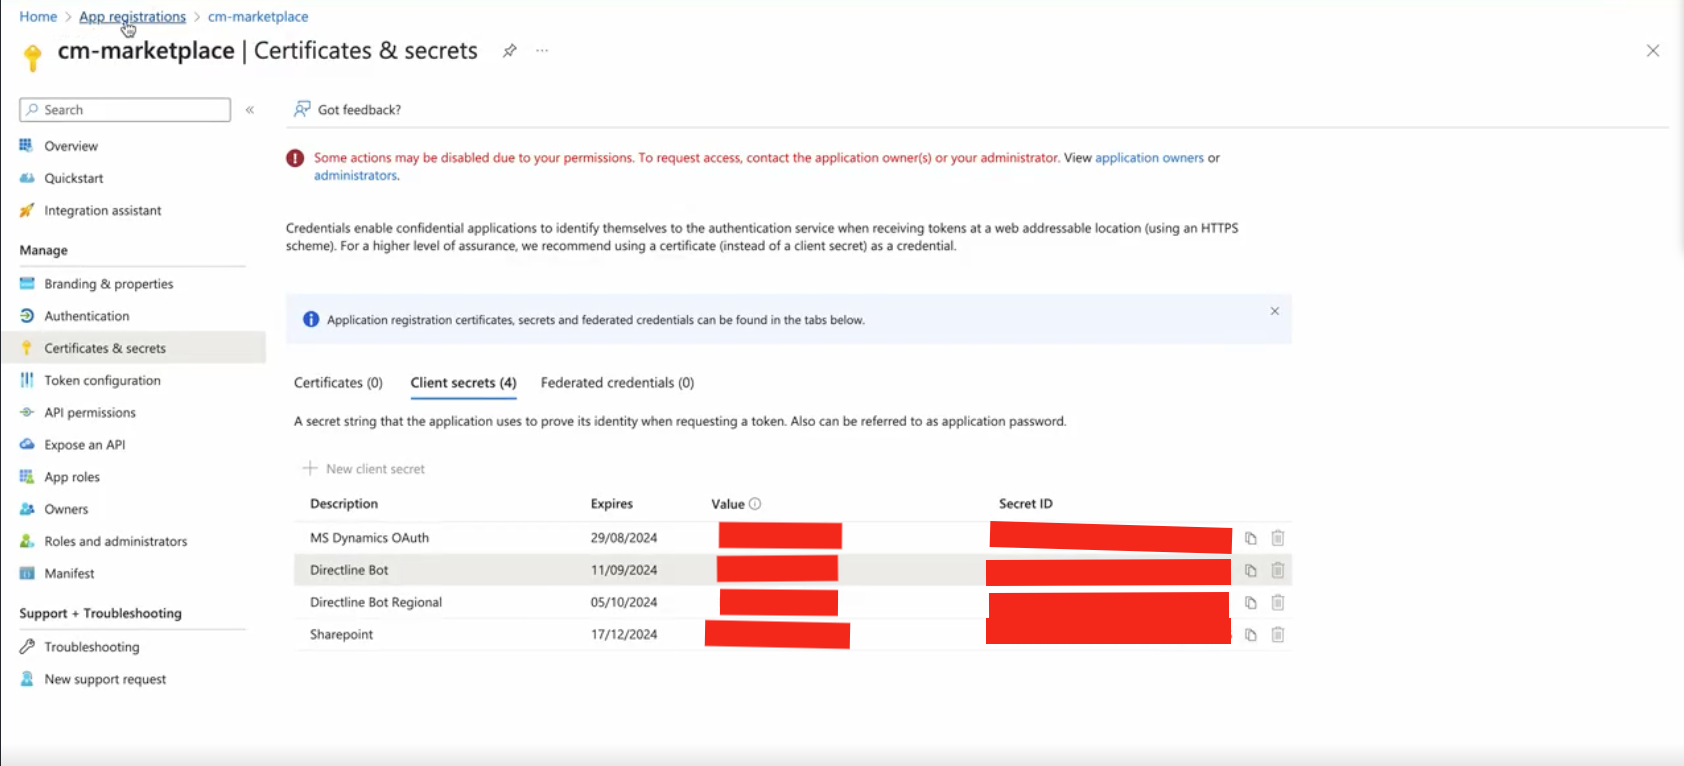
Microsoft app ID → Navigate to https://portal.azure.com and then Go to “Certificates & secrets” under “Manage” and under “Client secrets” create new client secret with desired description and Copy the value it shows after creation
-
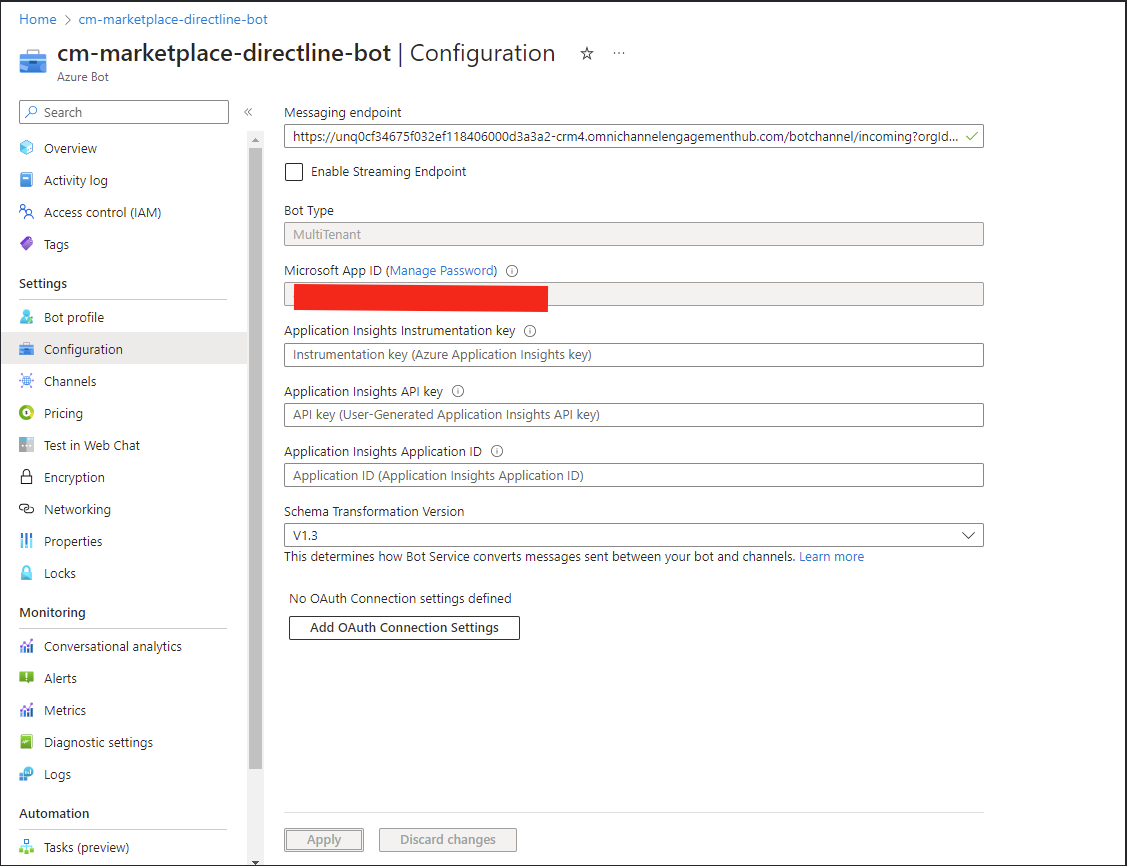
Client secret → In the azure portal go to “Configuration” under “Settings” of the newly created bot and copy the Microsoft App ID shown as below
-
Follow this link for more details https://learn.microsoft.com/en-us/dynamics365/customer-service/configure-custom-channel
- Custom channel:
- Name: Your preferred name for channel
- Channel: “Direct line”
- After completing the last stage it will generate a url in next stage. Copy that url and save it, we’ll use that in our azure bot configuration.Go to “Configuration” under “Settings” of the newly created bot and paste the url under Messaging endpoint field shown below
Setting up Workstream in Customer Service admin center:
-
Login to your dynamics 365 dashboard and Go to “Customer Service admin center” app.
-
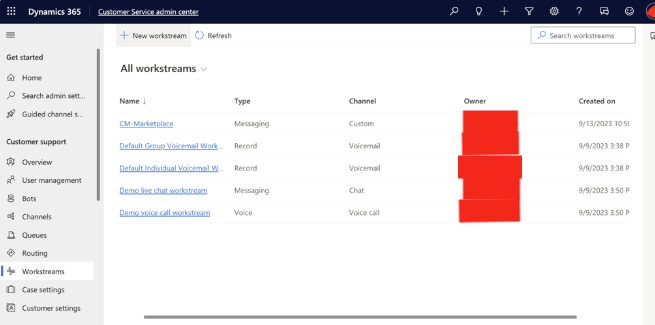
On the left panel click on “Workstreams” under “Customer Support”
-
Click on “New workstream” to create new stream, enter your desired name but workstream type must be “Messaging” only
-
Select the workstream that you created for the custom channel.
-
Select Set up Custom.
-
On the Custom channel page, select the custom messaging account you created earlier.
-
On the Language page, select the required language.
-
On the Behaviors page, configure the following options: (⚠️ messages must be as described in documentation only, or else some features might start breaking)
- Trigger: “Agent ended conversation“ | Message: “endOfConversation”
-
On the User features page, if you want customers or agents, or both, to send file attachments, turn on File attachments and select the appropriate options.
-
Verify the settings on the Summary page, and then select Finish.