Dynamics 365 Customer Service
CM AI Assistant for Dynamics 365 - Setup Guide
Overview
CM AI Assistant integrates AI-powered email drafting directly into Dynamics 365 Customer Service Workspace. Below is Zip File that will install the application
Prerequisites
- System Administrator or System Customizer security role for importing the solution
- You must have the **Dynamics 365 Customer Service **account. For Free Trial you can refer to the AI Customer Service Management Solutions | Microsoft Dynamics 365
- CM Marketplace account with:
- API URL (provided by CM)
- API Key (provided by CM)
Installation
Step 1: Import the Solution
- Go to Power Apps → make.powerapps.com
- Select your target environment from the top-right dropdown
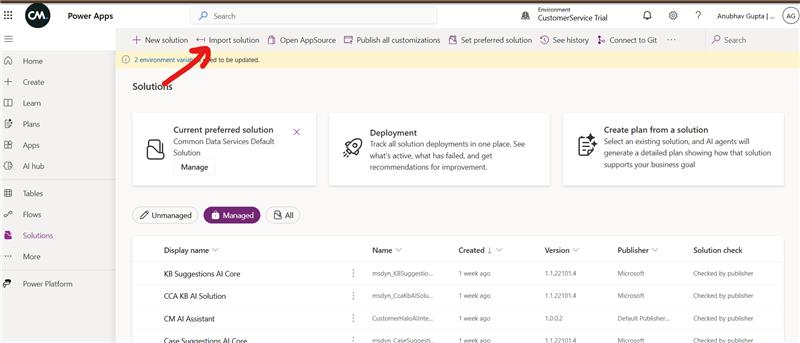
- Navigate to Solutions in the left sidebar
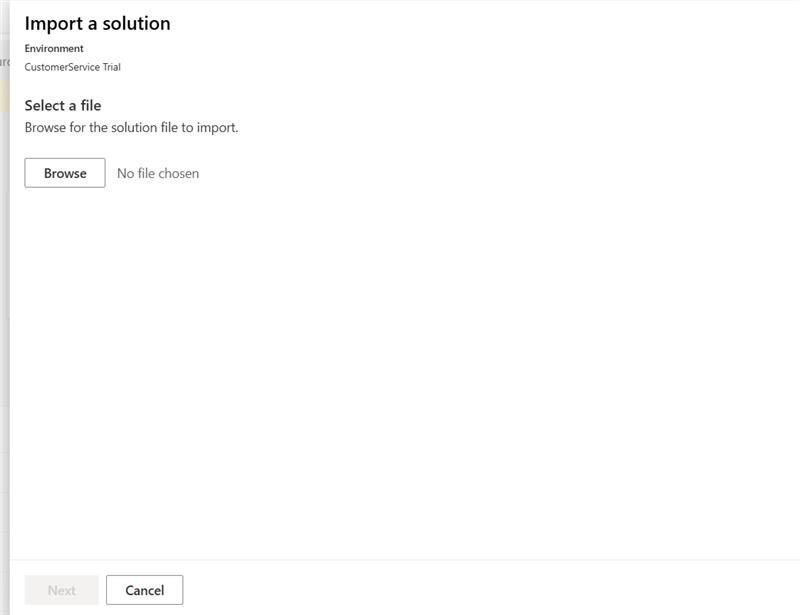
- Click Import solution → Browse
- Select the provided
.zipfile (e.g.,CM_AI_Assistant_1_0_0_2_managed.zip) - Click Next
Step 2: Configure Environment Variables
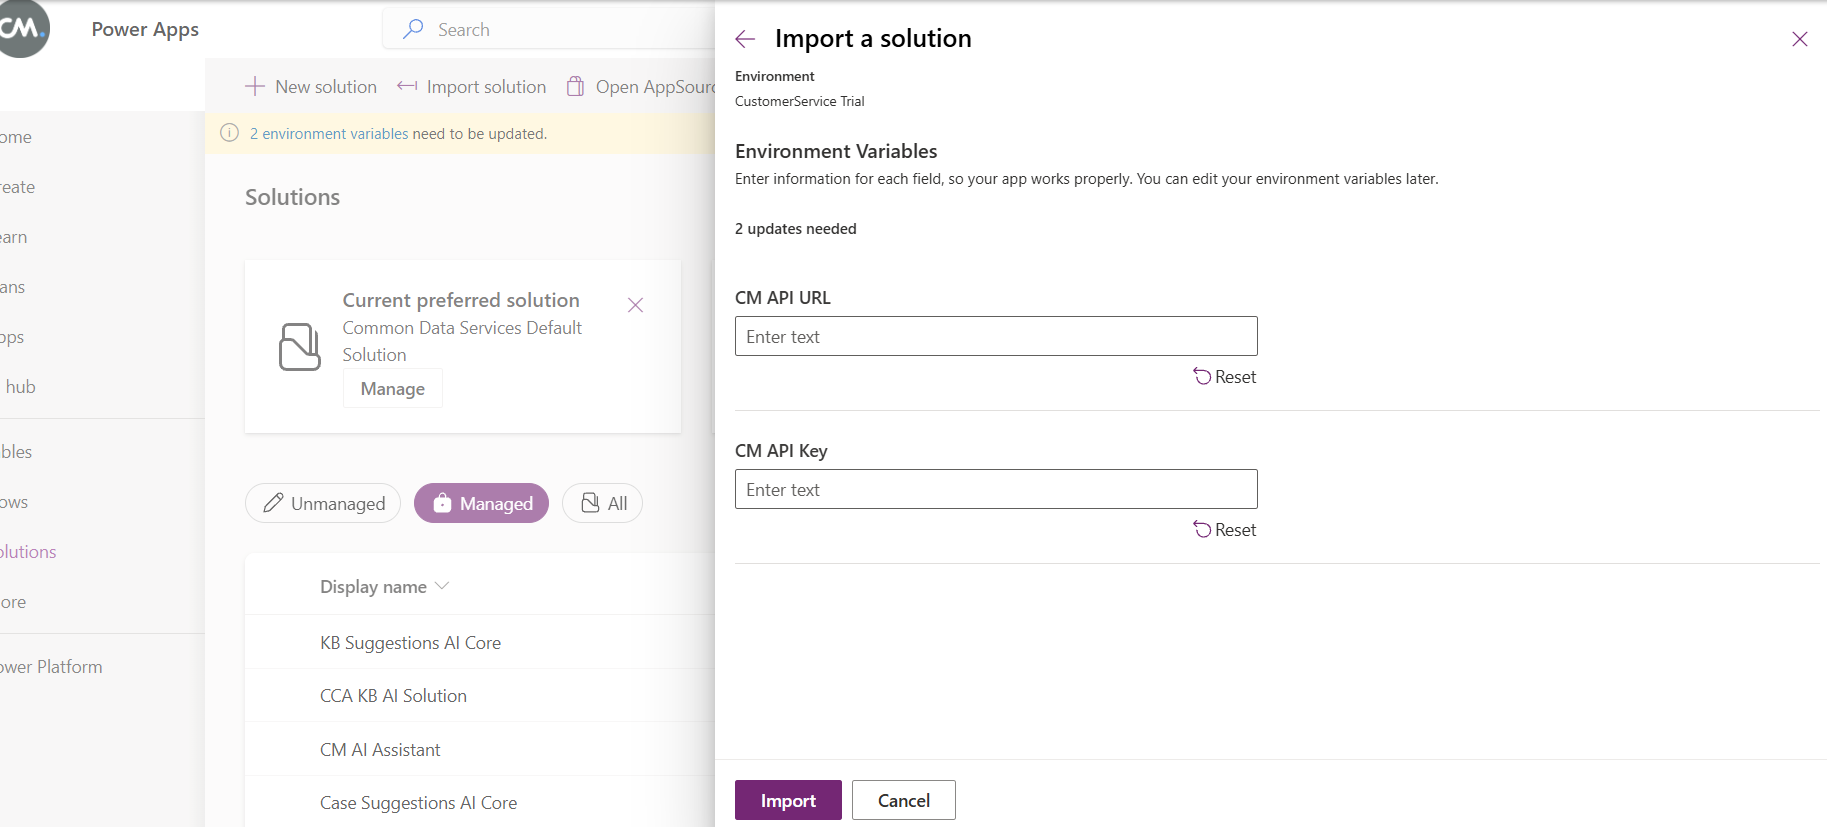
During import, you will be prompted to enter values for two environment variables:
| Variable | Description | Example |
|---|---|---|
| CM API URL | The full API endpoint URL (can be retrieved through marketplace dashboard) | https://api.cm.com/marketplace/comms/v1/tenants/{your-tenant-id}/adapters/{your-adapter-id}/dynamics-ai-assistant |
| CM API Key | API KEY (can be retrieved through marketplace dashboard) | your-api-key-here |
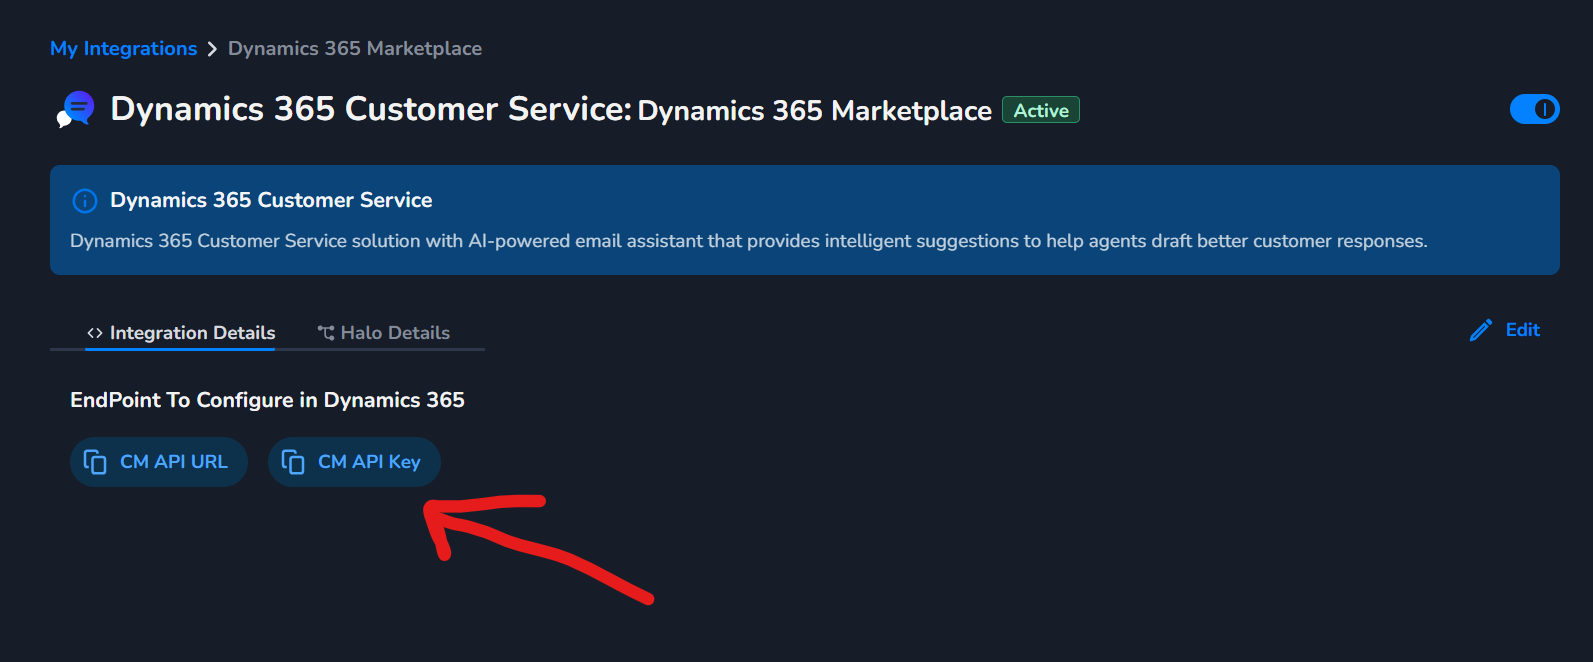
- Enter both values and click Next
- Click Import
- Wait for the import to complete (the status will show "Succeeded")

Step 3: Publish Customizations
After import, publish all customizations:
- Go to Solutions
- Select the imported solution
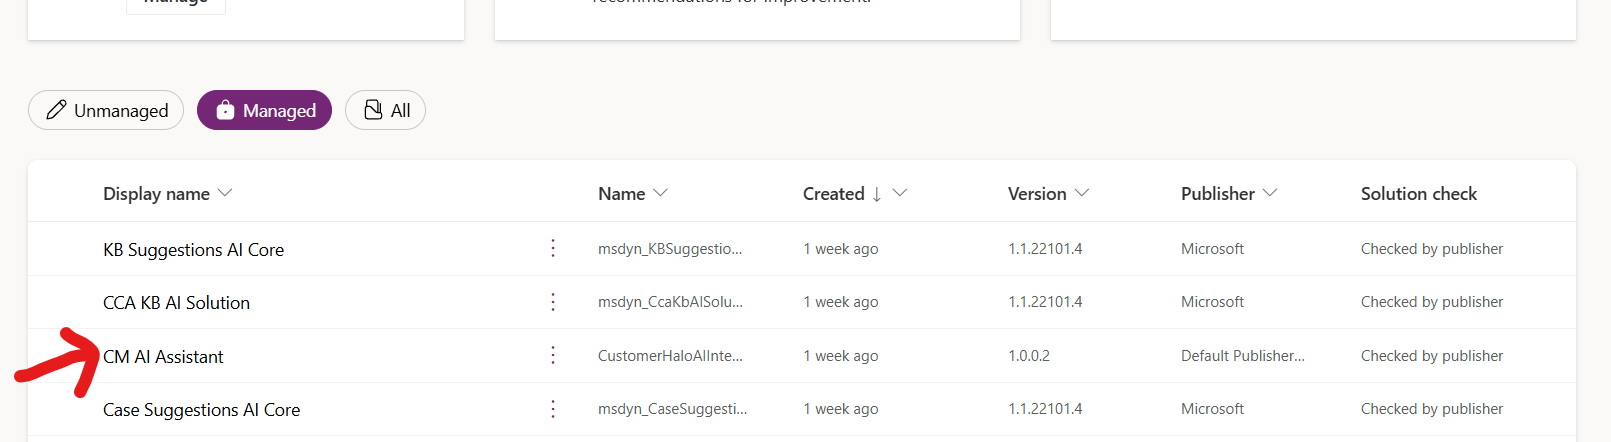
- Click Publish all customizations
How to Use
Opening CM AI Assistant
- Open Customer Service Workspace
- Open an Email record (incoming email)
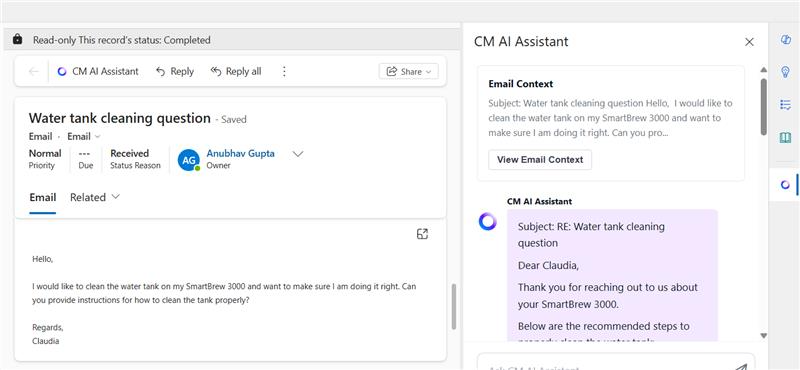
- Click the CM AI Assistant button in the command bar at the top The AI Assistant side pane will open on the right side of the screen.
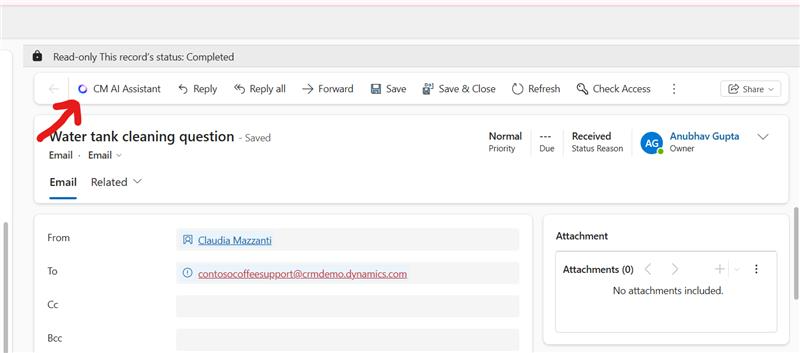
Using the Side Pane
- Email Context Card — The top of the pane shows the incoming email summary (subject and body preview). Click View Email Context to see the full email details.
- Auto-Generated Draft — When the pane opens, it automatically generates a draft response based on the email content.
- Ask Questions / Refine — Type a message in the input field at the bottom
- Insert to Email — Click the Insert to Email button below any AI response to insert it into the email body. You can then edit the inserted text before sending.