Customer Setup Shopware
Customer Setup
This guide explains what you, as the customer, need to provide to enable the integration between your Shopware CRM and our platform.
1. Prerequisites
Before proceeding, ensure you have the following:
- A valid email address to create a Shopware account.
- Access to your company registration documentation (for business verification).
- Admin access to your Shopware store.
Shopware Account Setup
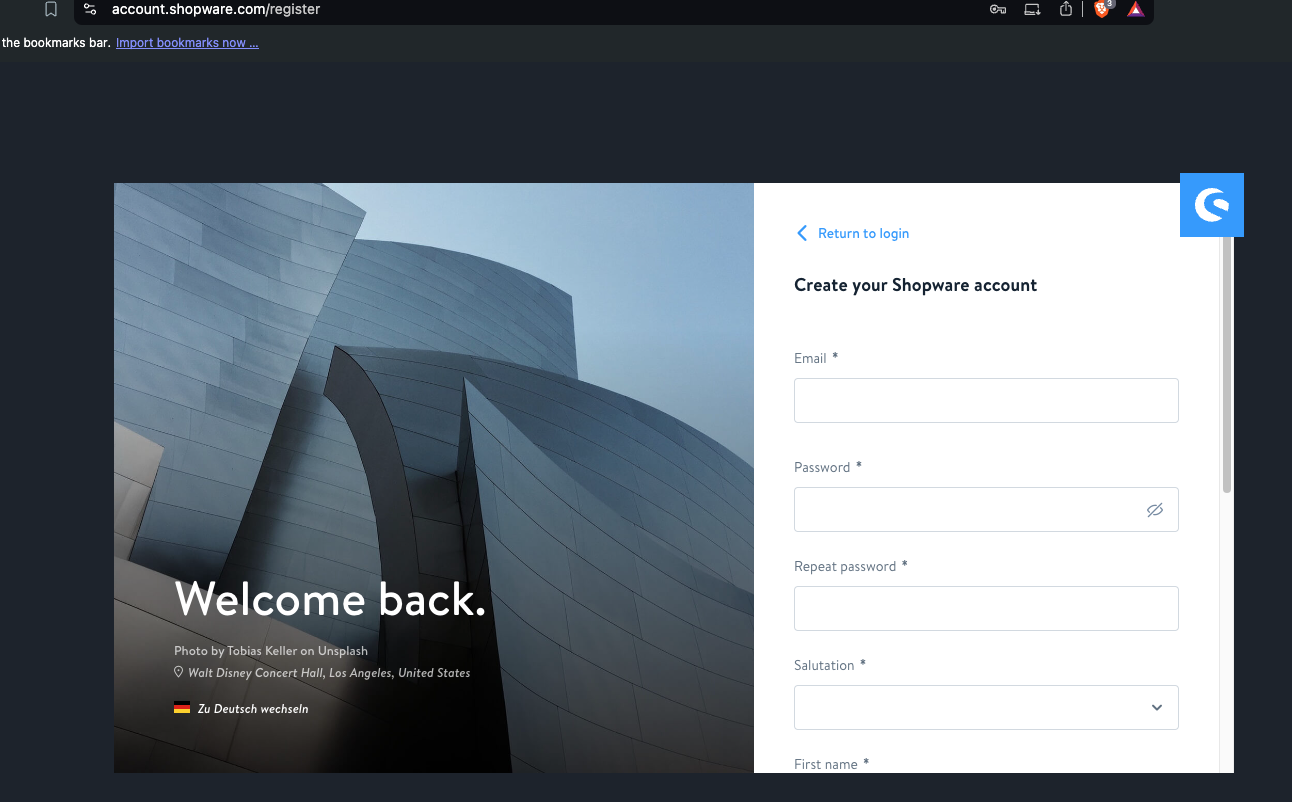
Step 1: Go to Shopware , click “Register now” and fill out the relevant forms on the right-hand side of the screen to create a S hopware account (email address, password, title, first name, last name and language). When you click Register, the data is sent, and your Shopware account is established
Step 2: You must also register your business. To begin, you must first give your company name and agree to the terms and conditions. Fill up the account details, contact information, and billing address.
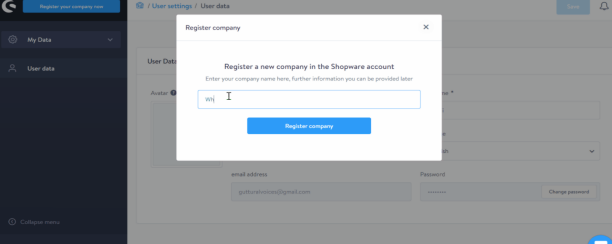
Please keep in mind that Shopware requires a valid company name from your company registration documentation. In order to use a trading name in commercial transactions, you must provide extra information.
Step 4: You must now build a Shopware shop and connect its domain to your Shopware account. The only method to put them in is through your account. You may control the installation of your e-commerce store and account on a website through your Shopware account since they are connected.
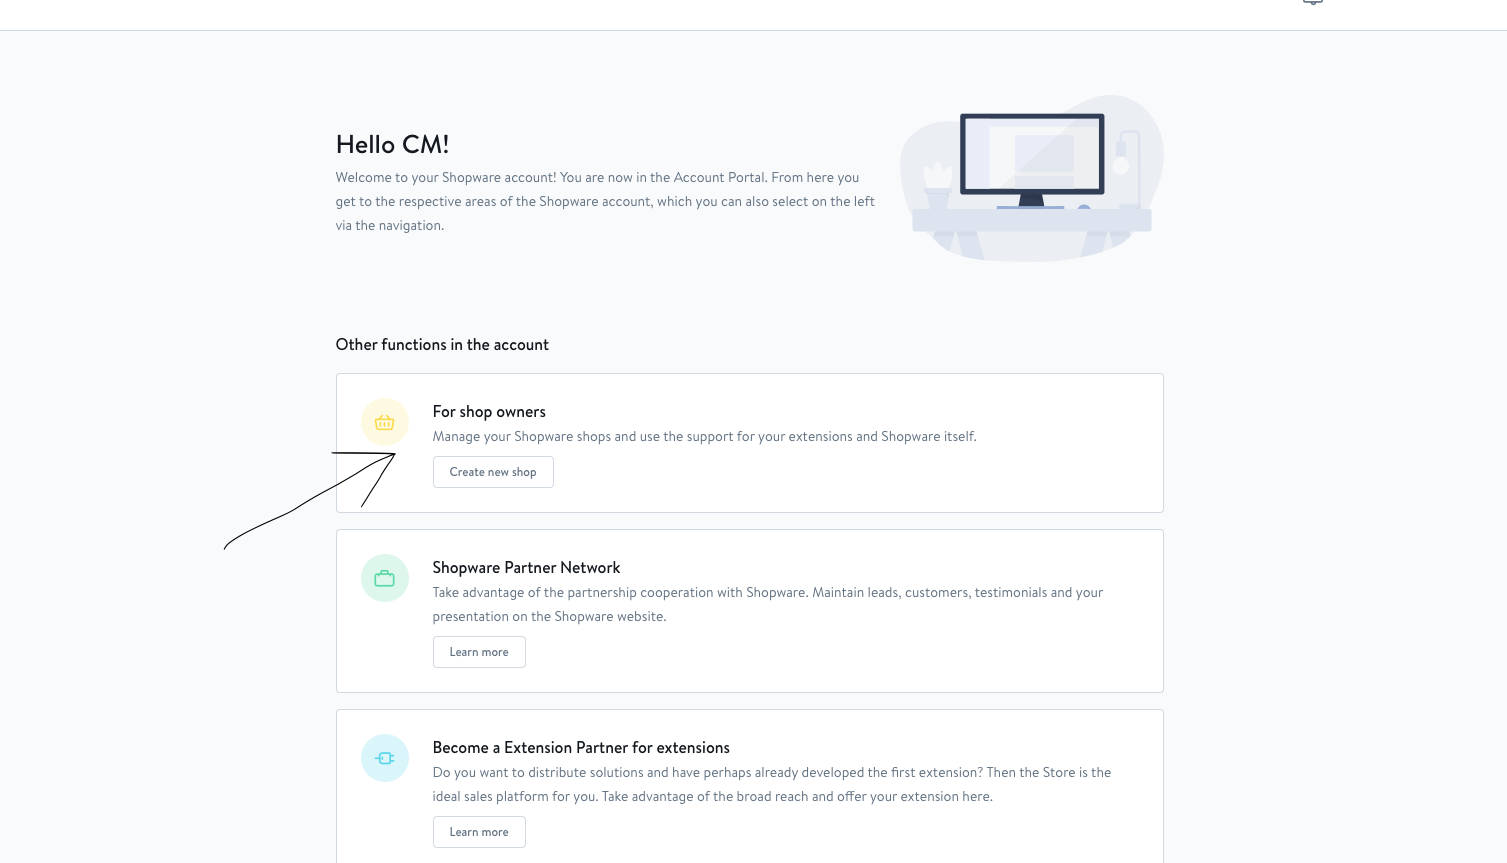
Step 5: You may register an existing on-premise Shopware website or construct a cloud storefront.
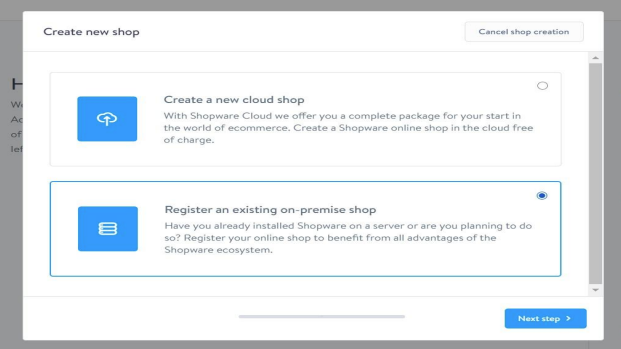
Step 6: For an existing self-hosted business, the registration window looks like this:
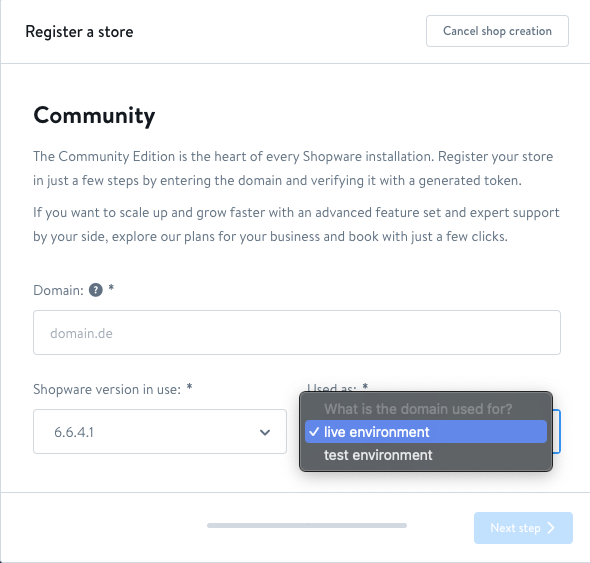
Step 7: You must enter your Shop domain, select your store’s Shopware version, and declare the purpose of use.
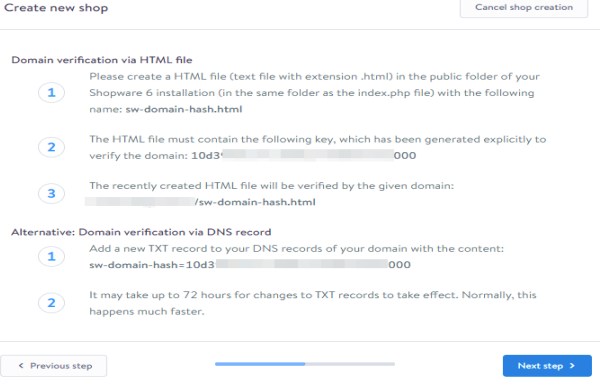
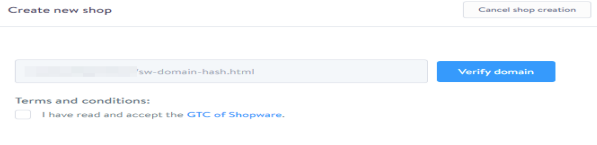
Step 8: You can go to the next step from that screen. On the bottom right corner of the screen, press the relevant button. Important Reminder! The sw-domain-hash.html file should be saved on your server since it is necessary for the following step. To complete the Shopware domain verification, provide it to the system. Click on Verify Domain. As always, read and double-check the terms and conditions. You will never register your store if you do not do so. When setting up a new cloud shop, Shopware needs to give it a name. You can see if it’s available and see a preview of the domain.
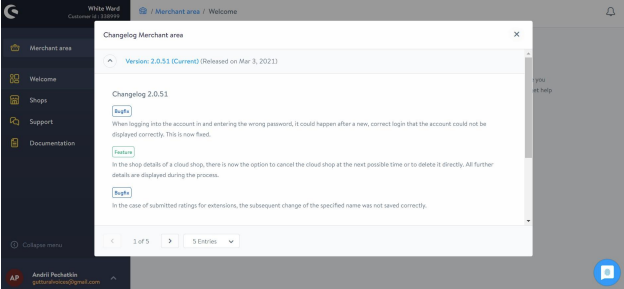
Step 10: When you click the Create button, Shopware will open the Changelog Merchant section. A new cloud store has been created for you.