Magento Dev Setup
Setting Up Magento Server on Azure/GCP
To create Magento Server you first need to create the Instance of Magento from any cloud service like Azure or Gcp or Aws. Afterwards copy the ip address of the virtual machine of the magento server that you have created and download the ssh private key for ssh login, on creating the magento server instance remember to save the username somewhere as it will be needed for ssh login. Then ssh into the magento server instance
sudo ssh -i <Key-Location> username@ipadressofvm
Step 1: Create a MySQL database for Magento installation
To setup the MySQL database using MariaDB Server
First we need to set the root mysql password (currently password is blank), run the following command and follow the onscreen instructions to set a new root password. Press enter when it asks to provide a password.
sudo mysql_secure_installation
Next we run the following command to create a new database called magento2 with a new user called magentip with password yourpassword that will be used by Magento.
sudo mysql

CREATE DATABASE magento2;

CREATE USER 'magentip'@'localhost' IDENTIFIED BY 'yourpassword';

ALTER USER 'magentip'@'localhost' IDENTIFIED BY 'yourpassword';

GRANT ALL PRIVILEGES ON *.* TO 'magentip'@'localhost' WITH GRANT OPTION;

exit;
Step 2: Create Magento Access Key
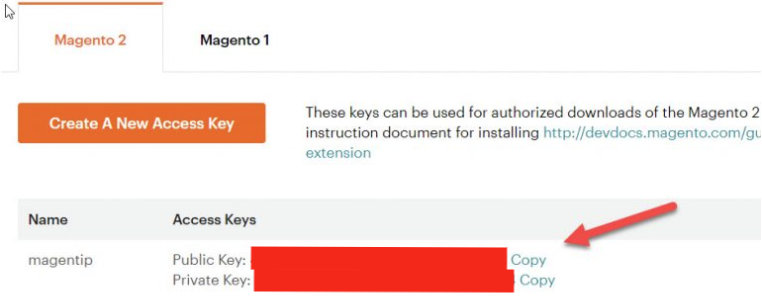
In order to setup magento 2.4 you will require access keys. Sign up for a free account on the following link and create a new access key. You will receive a private and public key that we will use to setup Magento
Step 3: Configure Apache2 Virtual Host for Magento Site
We need to configure the default Apache host config for our Magento site.
Open the 000-default.conf file:
Then Run the Command in terminal:
sudo vim /etc/apache2/sites-available/000-default.conf
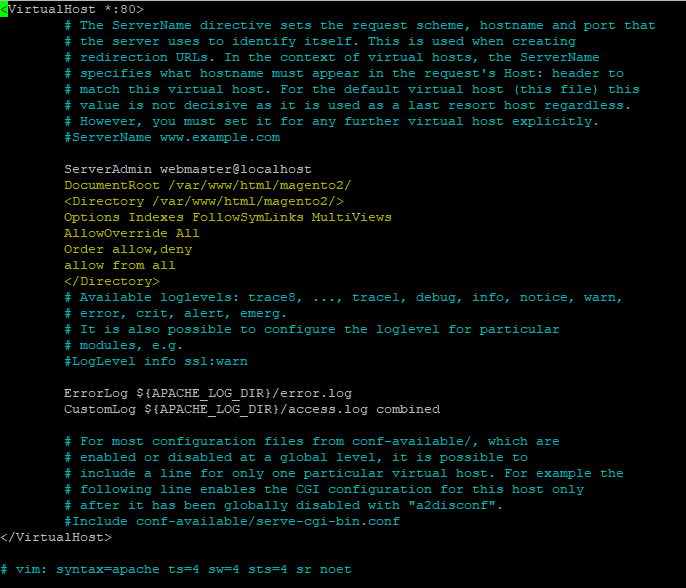
Copy and paste the following into your 000-default.conf file:
DocumentRoot /var/www/html/magento2/ <Directory /var/www/html/magento2/> Options Indexes FollowSymLinks MultiViews AllowOverride All Order allow,deny allow from all </Directory> |
Edit config using VIM editor
Press Shift + I to insert the text into the 000-default.conf file using the VIM editor. To save and exit, press ESC key and type :wq!
Enable Apache Rewrite
Once you have saved the **000-default.conf **and exited back to terminal, we need to enable the Apache rewrite module by running the following command:
sudo a2enmod rewrite
Restart Apache Service
Now restart Apache by running the following command:
sudo systemctl restart apache2
Update PHP.ini File
Next you need to make sure the following entries are configured within your php.ini file. Run the following command to open your php.ini file:
sudo nano /etc/php/7.4/apache2/php.ini
Search through the file and making sure the following are configured:
file_uploads = On
allow_url_fopen = On
short_open_tag = On
memory_limit = 256M
upload_max_filesize = 100M
max_execution_time = 360
date.timezone = America/Chicago
Then restart Apache service:
sudo systemctl restart apache2
Step 4: Install Magento into Apache vhost directory
Now we need to run through the Magento installation. We will be using Composer and the Magento access keys we created earlier.
Your access keys will be used as follows:
Username: Your public key
Password: Your private key
Step 4.1 – Change terminal session path
Make sure the current directory your terminal session is in magento web root directory:
cd /var/www/html
Step 4.2 – Download Magento2 Open Source files
Run the following command. It will take some time to download.
sudo composer create-project --repository=https://repo.magento.com/ magento/project-community-edition=2.4.3 magento2
You will be prompted for a username and password, this is where you use your Magento access keys as follows:
Username: Your public key
Password: Your private key

Step 4.3 – Set Magento folder permissions
You must set read-write permissions for the web server group before you install the Magento software. This is necessary so that the command line can write files to the Magento file system.
sudo chown -R www-data:www-data /var/www/html/magento2/
sudo chmod -R 755 /var/www/html/magento2/

cd /var/www/html/magento2
sudo find var generated vendor pub/static pub/media app/etc -type f -exec chmod g+w {} +
sudo find var generated vendor pub/static pub/media app/etc -type d -exec chmod g+ws {} +
sudo chown -R :www-data .
sudo chmod u+x bin/magento
Step 4.4 – Restart Elasticsearch
This is necessary so that the command line can write files to the Magento file system.
sudo systemctl start elasticsearch
sudo systemctl enable elasticsearch
Step 4.5 – Install Magento
Make sure you're currently in your Magento directory
cd /var/www/html/magento2
Run the following command and amend the details to match your URL, database details, passwords, etc
sudo bin/magento setup:install \ --base-url=http://mywebsite.com \ (Your Instance IpAddress) --db-host=localhost \ --db-name=magento2 \ --db-user=magentip \ --db-password=your_mysql_password \ --admin-firstname=Admin \ --admin-lastname=Admin \ [email protected] \ --admin-user=admin \ --admin-password=your_admin_password \ --language=en_US \ --currency=USD \ --timezone=America/Chicago \ --use-rewrites=1 |
Step 4.6 – Setup Cron Jobs
Magento is using cron jobs to automate important operations. Lets setup the cron jobs.
sudo bin/magento cron:install
Step 5: Magento Admin Login
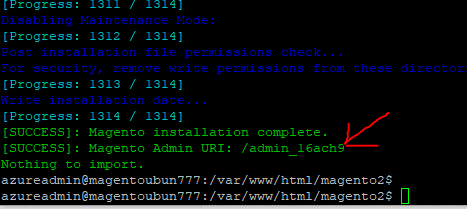
Once the install is complete, you will see the following, make a note of the admin URL as this is the unique URL you will use to login to the Admin portal:
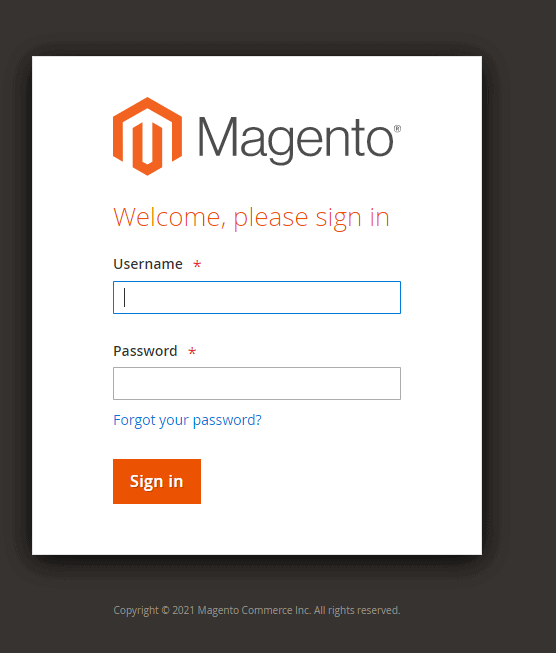
Admin login would be as follows:
http://sitename.com/admin_l6ach9
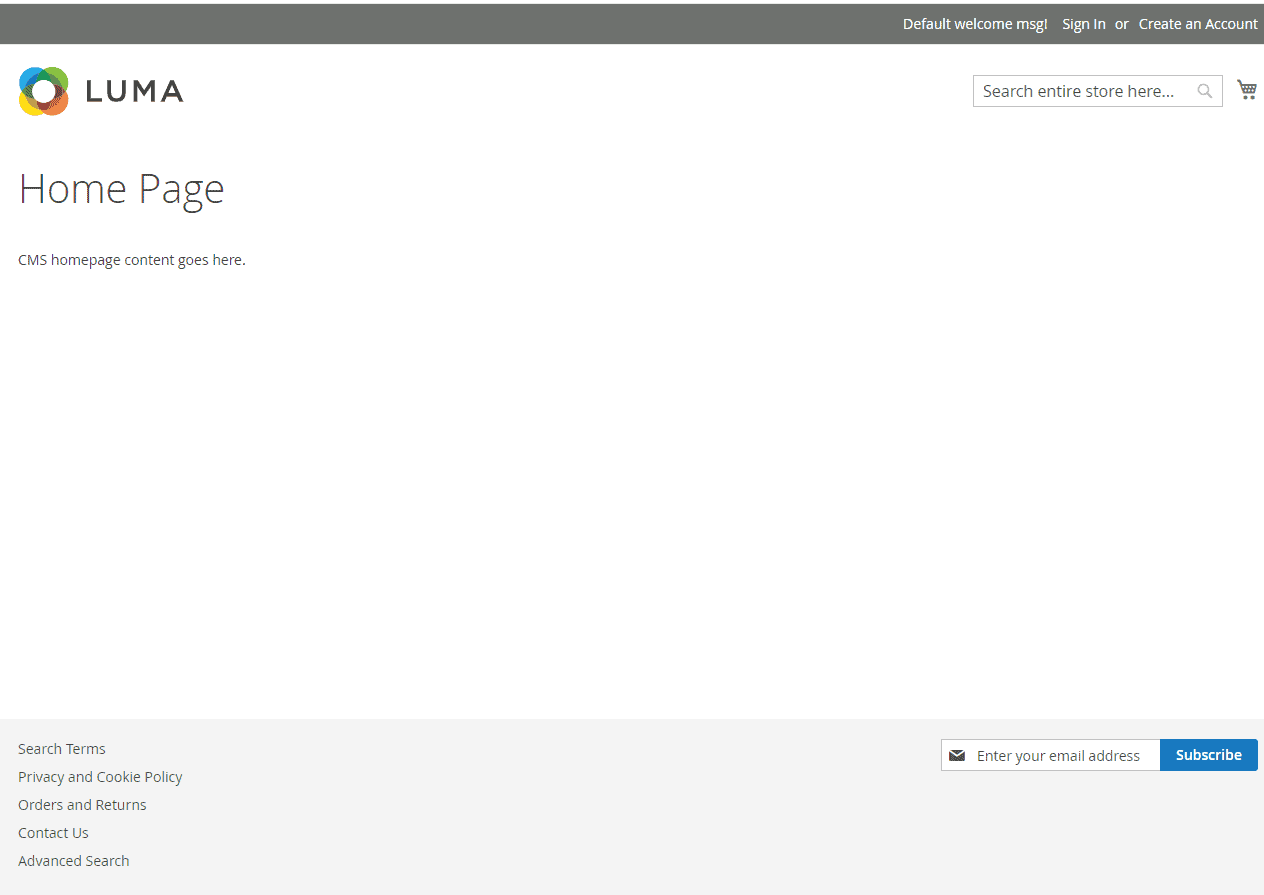
You should now be able to access Magento, view your homepage using your URL – http://sitename.com or the servers IP
Step 6: Magento Login - Two Factor Authorization
The first time your login to the admin section, you may get an error about configuring two-factor authentication
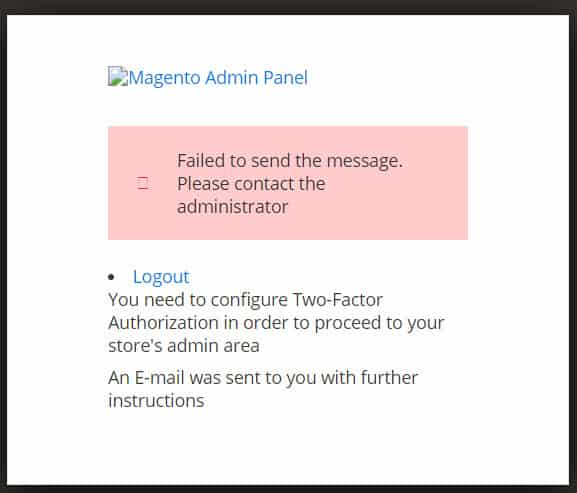
This error happened because since Magento 2.4, Two-Factor Authorization is enabled by default.
Method 1 – Disable Two-Factor Authorization:
If you don't need Two-Factor Authorization, run this command within your magento directory to disable it
sudo php bin/magento module:disable Magento_TwoFactorAuth

You should now be able to login.