Overview
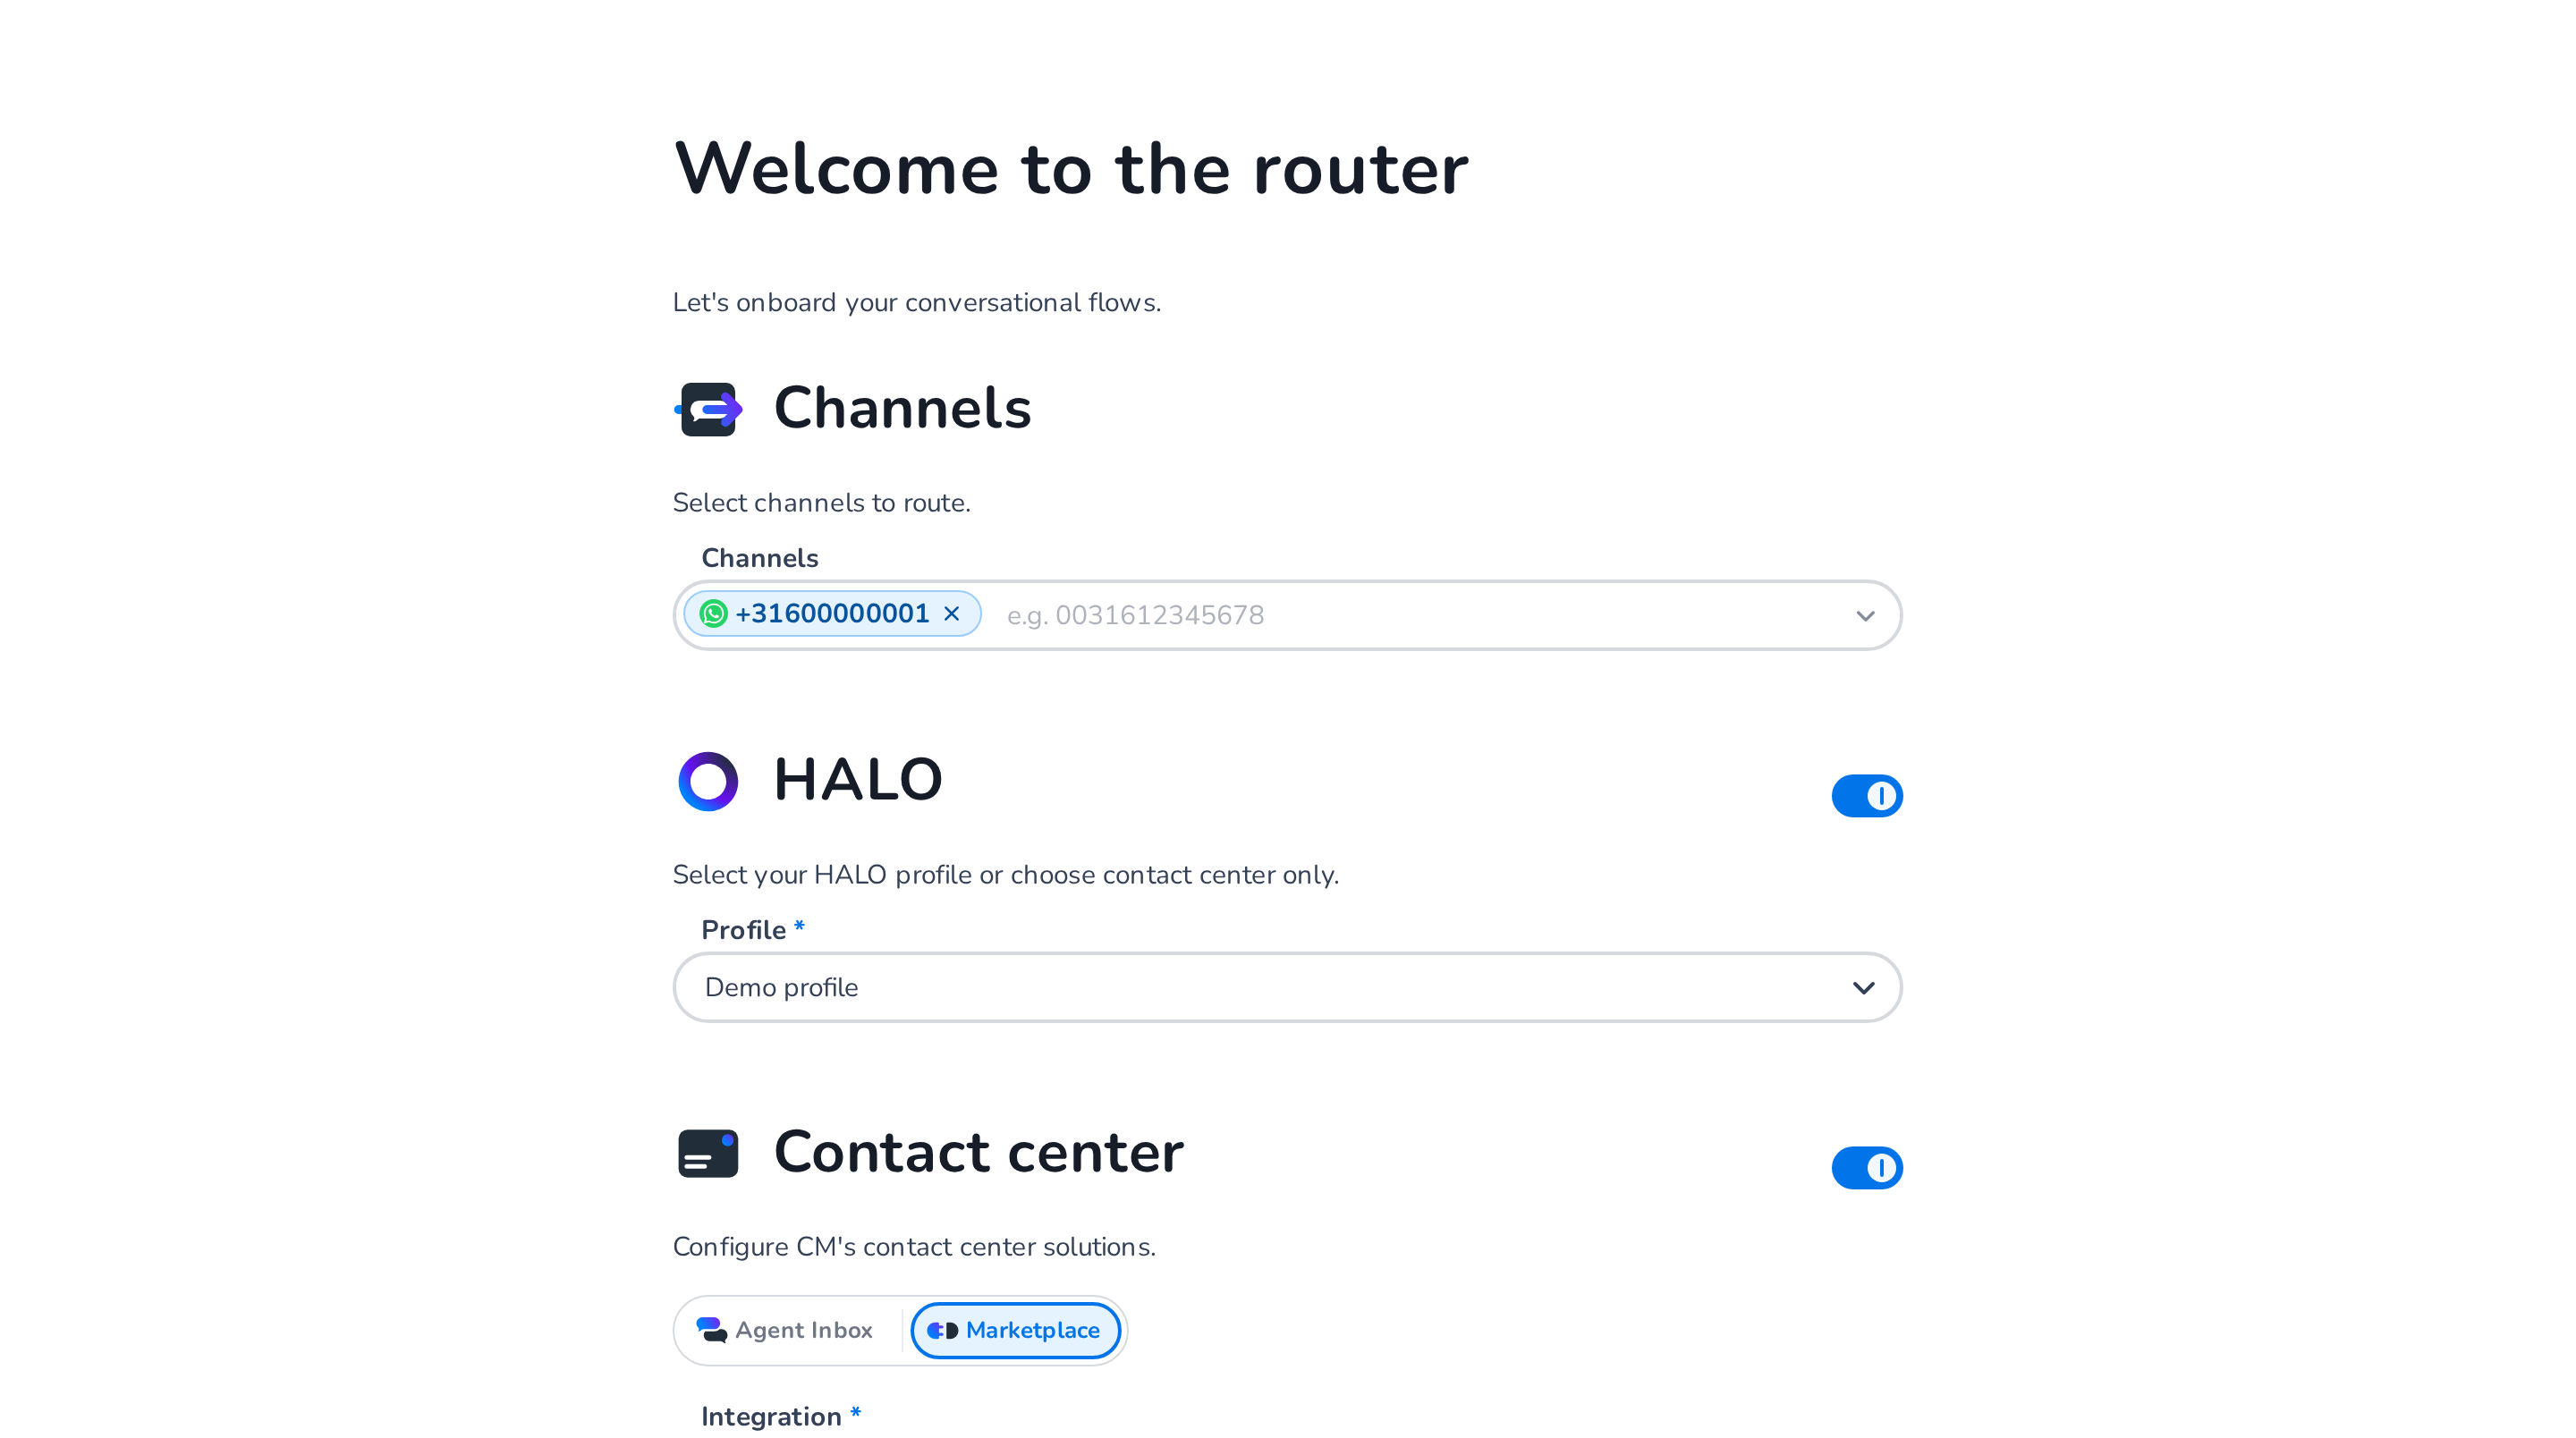
The first time you open the Router, the onboarding wizard ("Welcome to the router") helps you configure your account by guiding you through:
- Channels — select which Business Messaging channels to route through the Router
- HALO — enable CM.com's agentic AI solution
- Contact center — connect to Agent Inbox or a Marketplace integration
Prerequisites
Before you can proceed with onboarding or configuration, several prerequisites must be fulfilled to ensure the system operates as intended. These requirements apply to channels, HALO profiles, and marketplace integrations.
Channels
Channels must be provisioned in the Channels product to enable onboarding. Without properly configured channels, the onboarding wizard cannot proceed. For more information, refer to the Prerequisites on the Business Messaging page.
If no channels are provisioned for your account, a warning message will appear, providing a link to the Channels management interface. From there, you can provision new channels as needed.
HALO
If you plan to set up HALO, HALO profiles must first be configured within the HALO product itself. If no profiles are available for your account, an informational message will be displayed. In such cases, contact your administrator to request the setup of HALO profiles.
Marketplace integrations
For configuring Marketplace integrations, at least one integration must be provisioned for your account. If no integrations are configured, the Marketplace option will be disabled.
Configuration
Channels
The Channels section allows you to select which Business Messaging channels should route conversations through the Router. Use the multi-select dropdown to choose one or more channels; each channel displays its sender identifier (e.g., phone number for SMS/WhatsApp, page name for Facebook). Find more information on the Business Messaging page.
HALO
The HALO section enables CM.com's generative and agentic AI solution. HALO is enabled by default; select which HALO profile you want to use from the dropdown. Find more information on the HALO page.
Contact center
The Contact center section configures where conversations are routed for agent handling. It is enabled by default; choose between Agent Inbox and Marketplace.
Agent Inbox
Route conversations directly to CM.com's Agent Inbox solution. To configure it, fill in the appropriate API key. Find more information on the Agent Inbox page.
📘 Advanced settings availability
Advanced settings are only available to CM employees.
Marketplace
Route conversations to a third-party contact center solution via a Marketplace integration. Select the integration you would like to use from the dropdown. Read more on the Marketplace page.
Complete onboarding
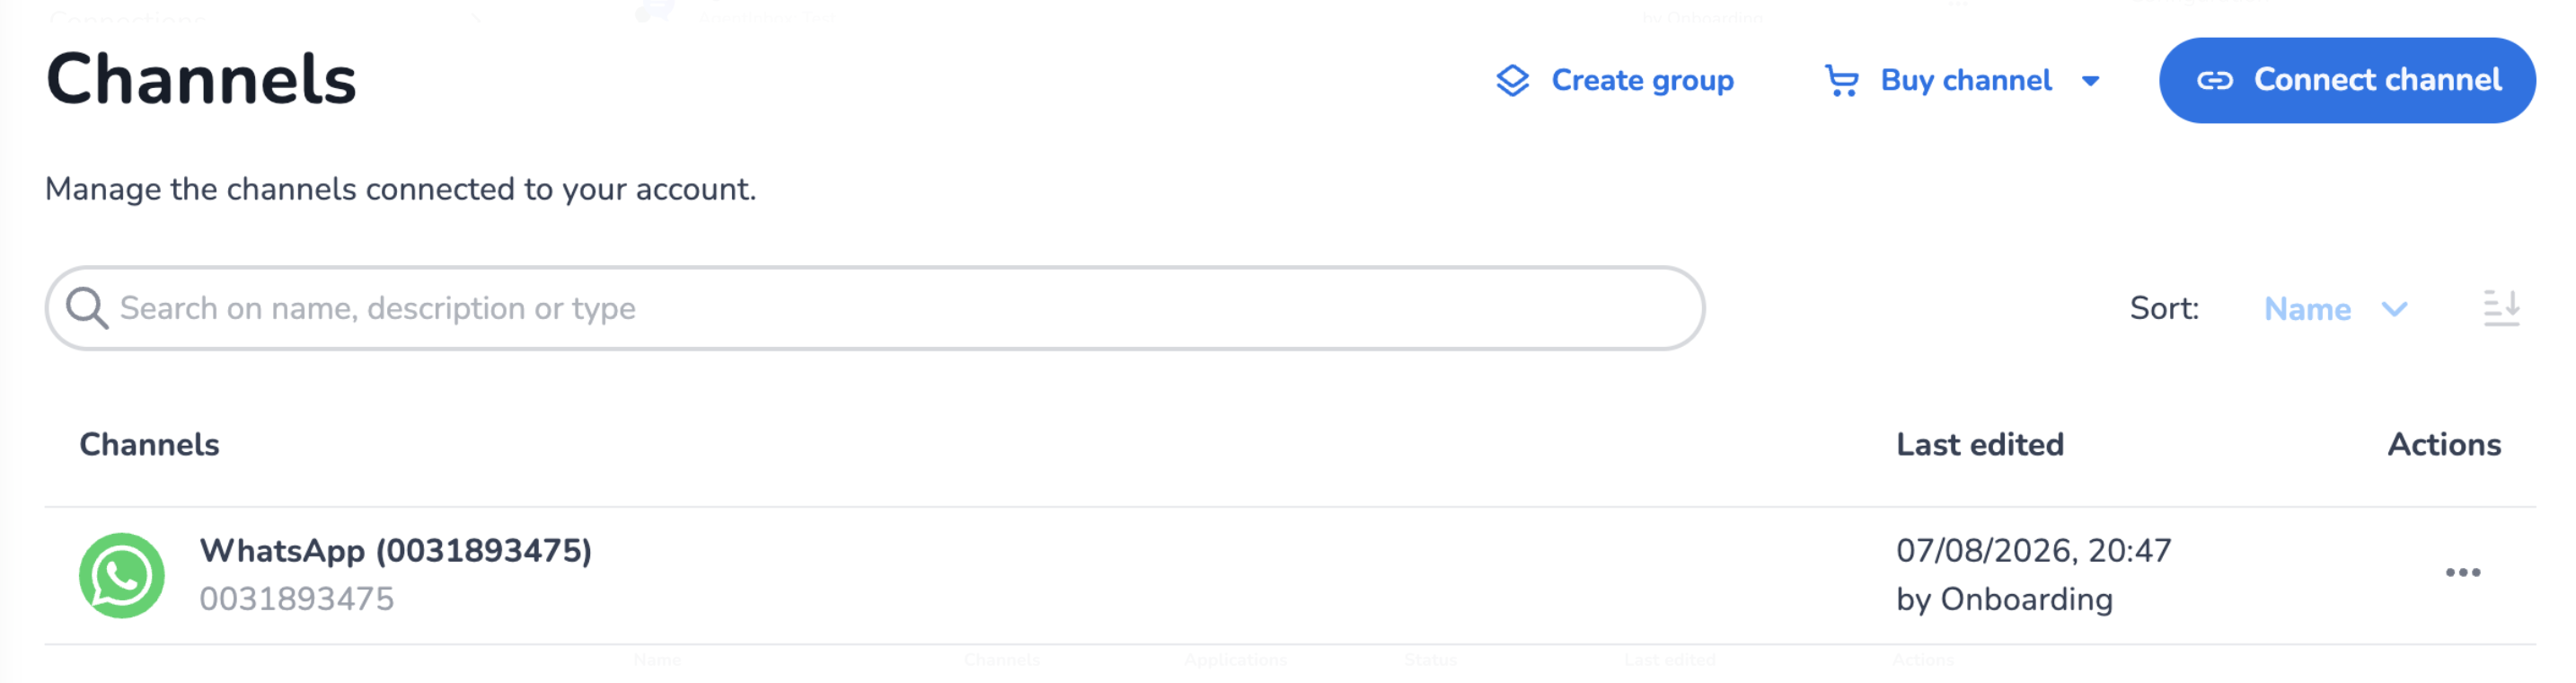
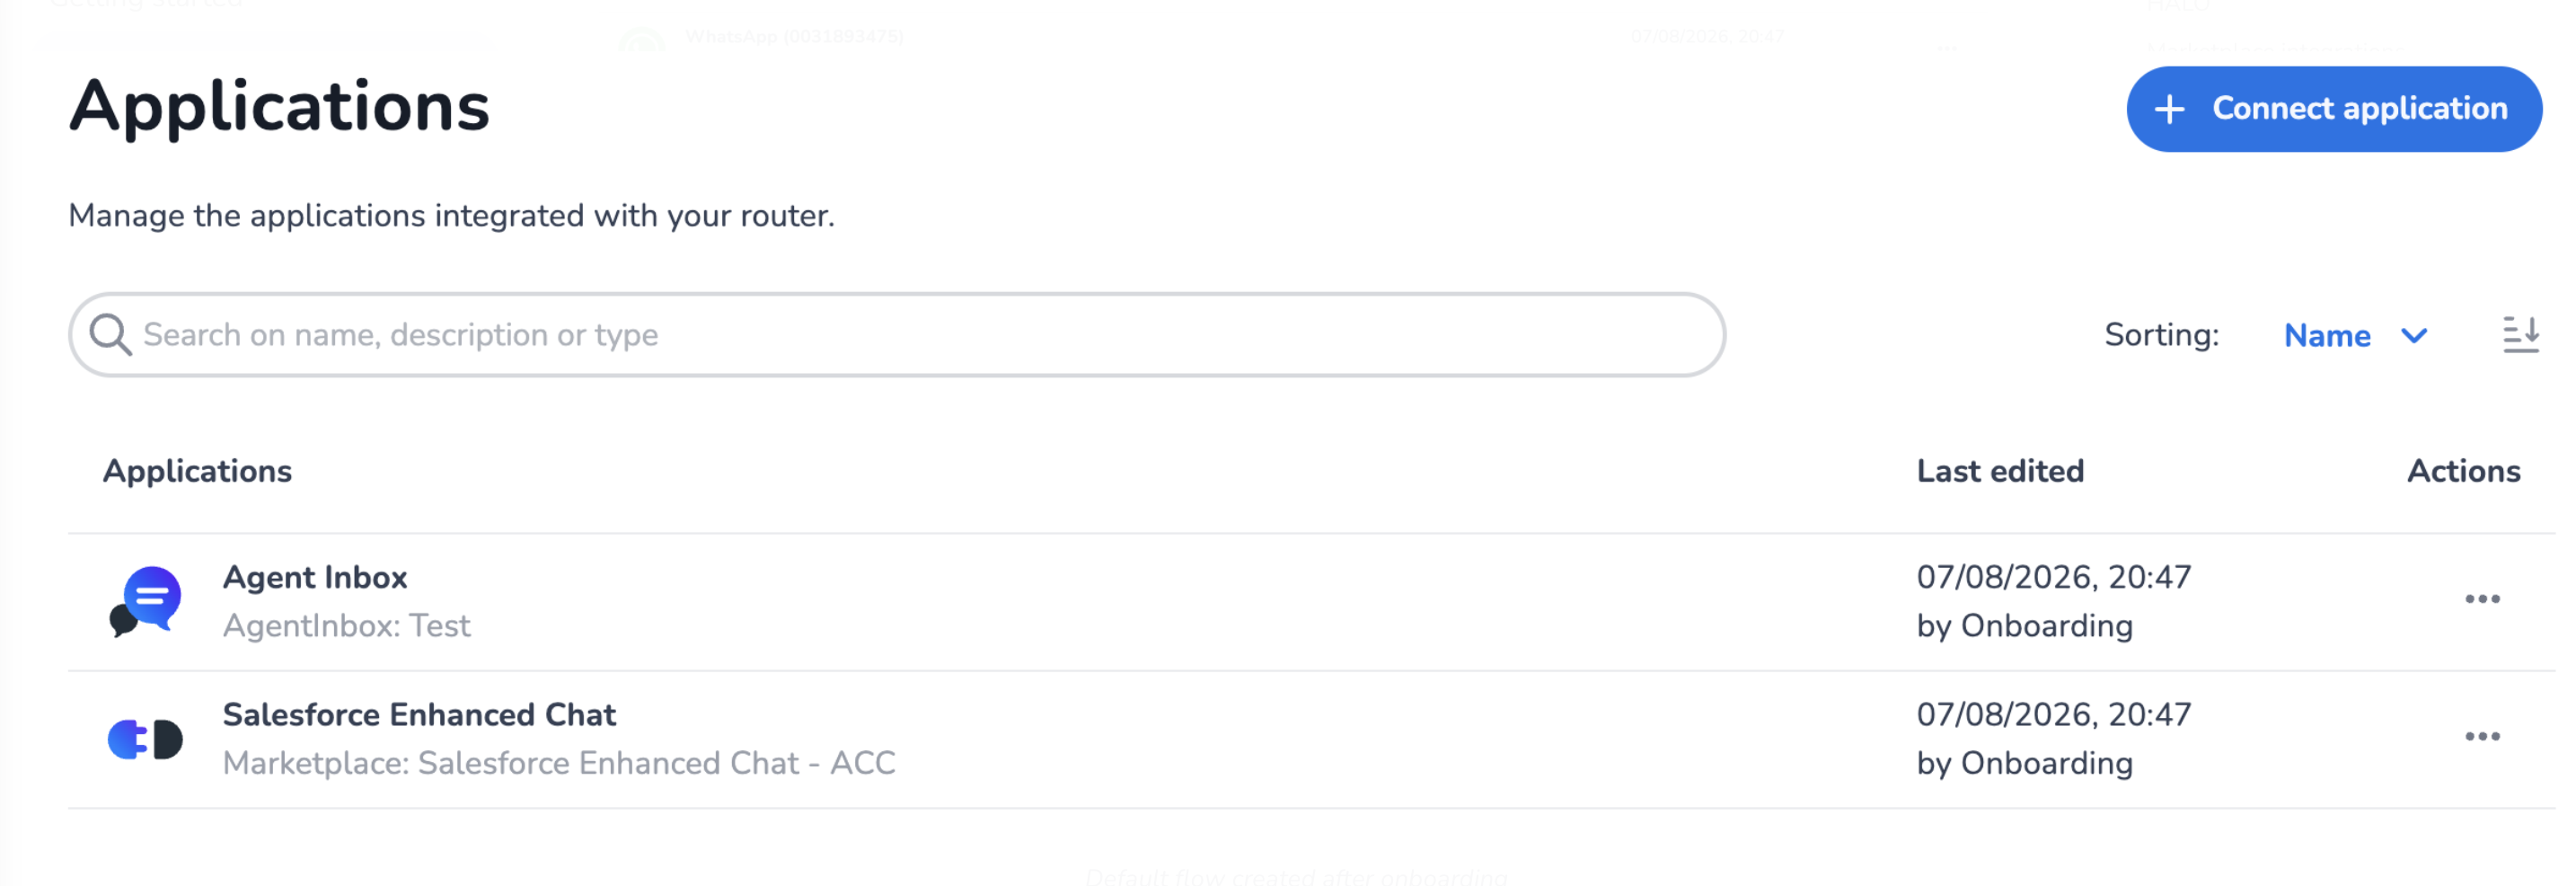
To finalize the onboarding process, click the Onboard button. This action automatically creates your channels and applications: if HALO was enabled, a HALO application is created with the selected profile; if Contact center was enabled, an Agent Inbox or Marketplace application is created depending on your choice.
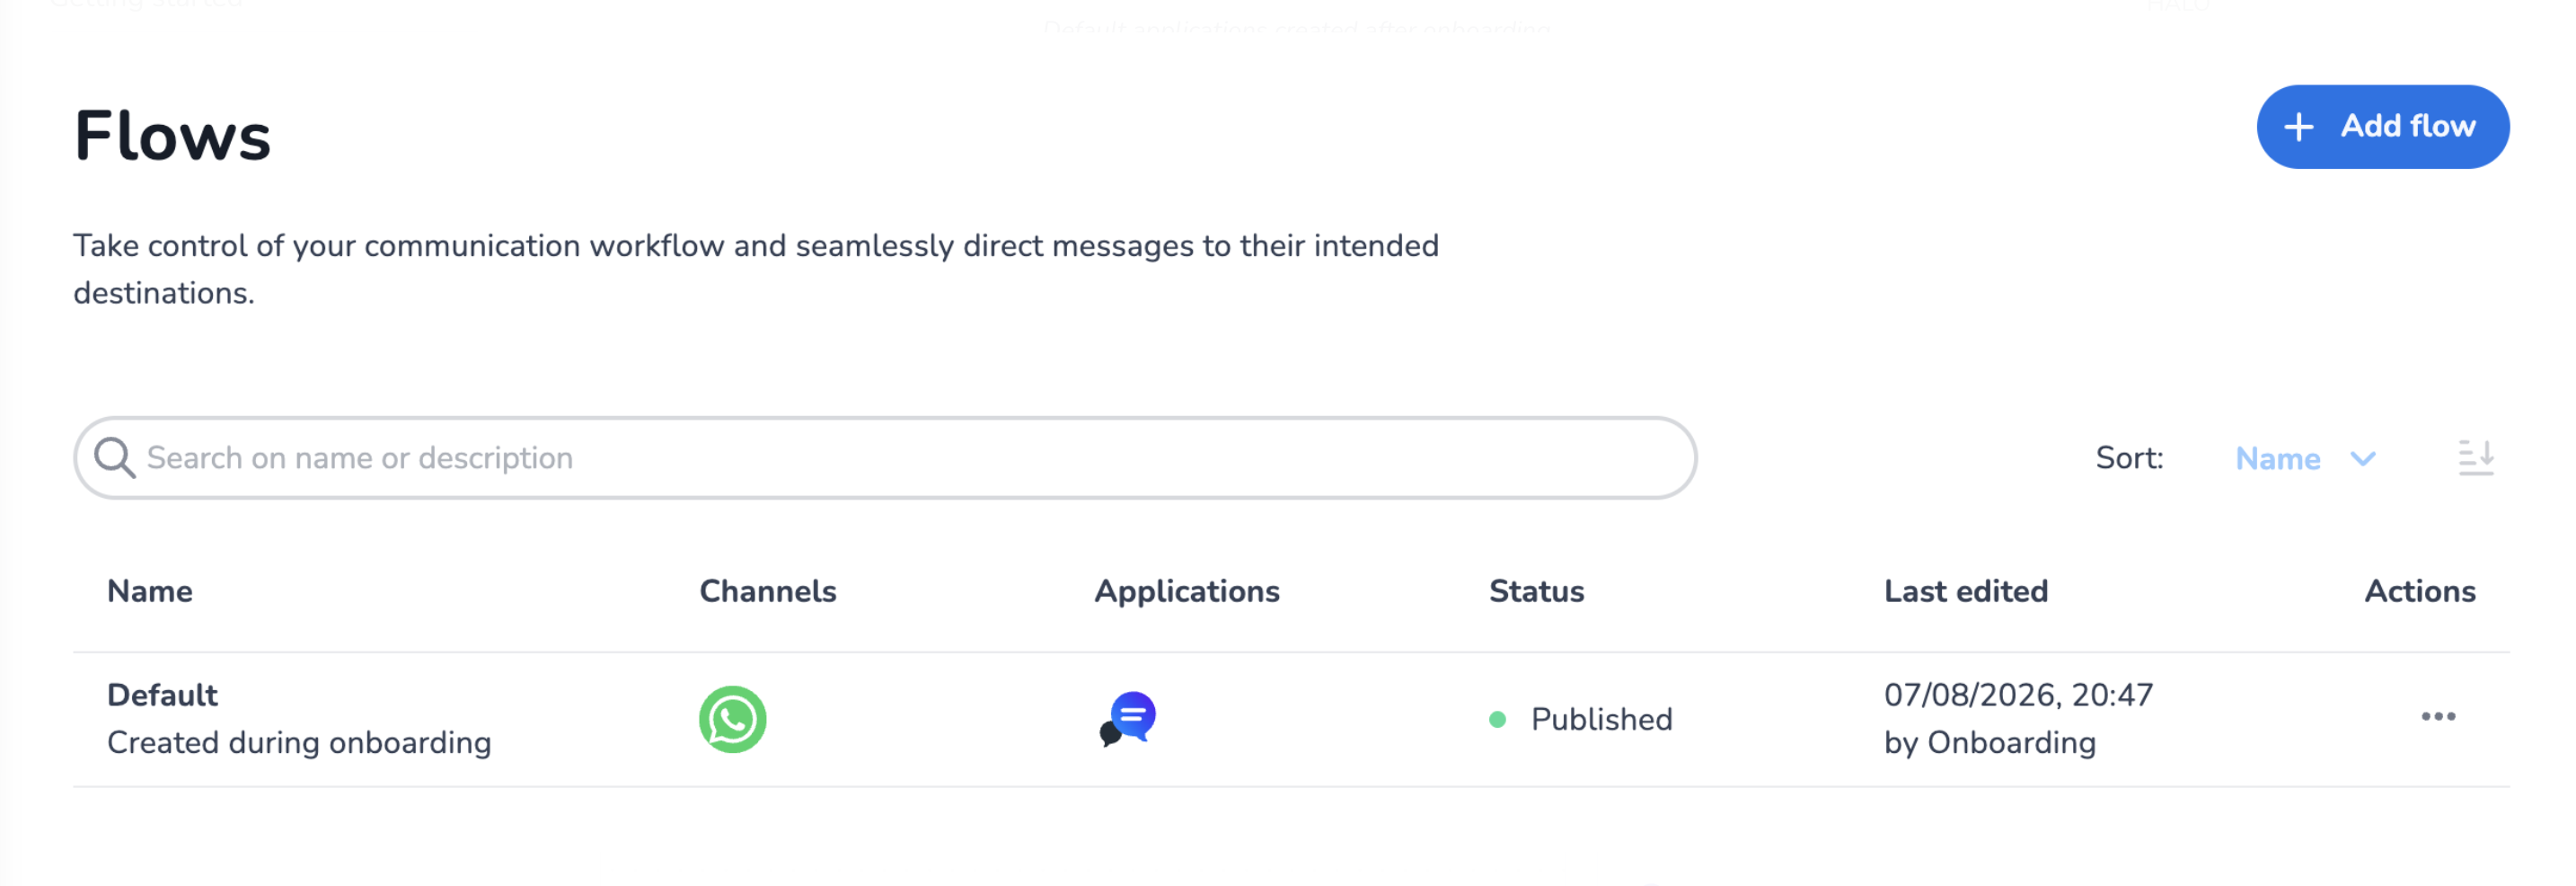
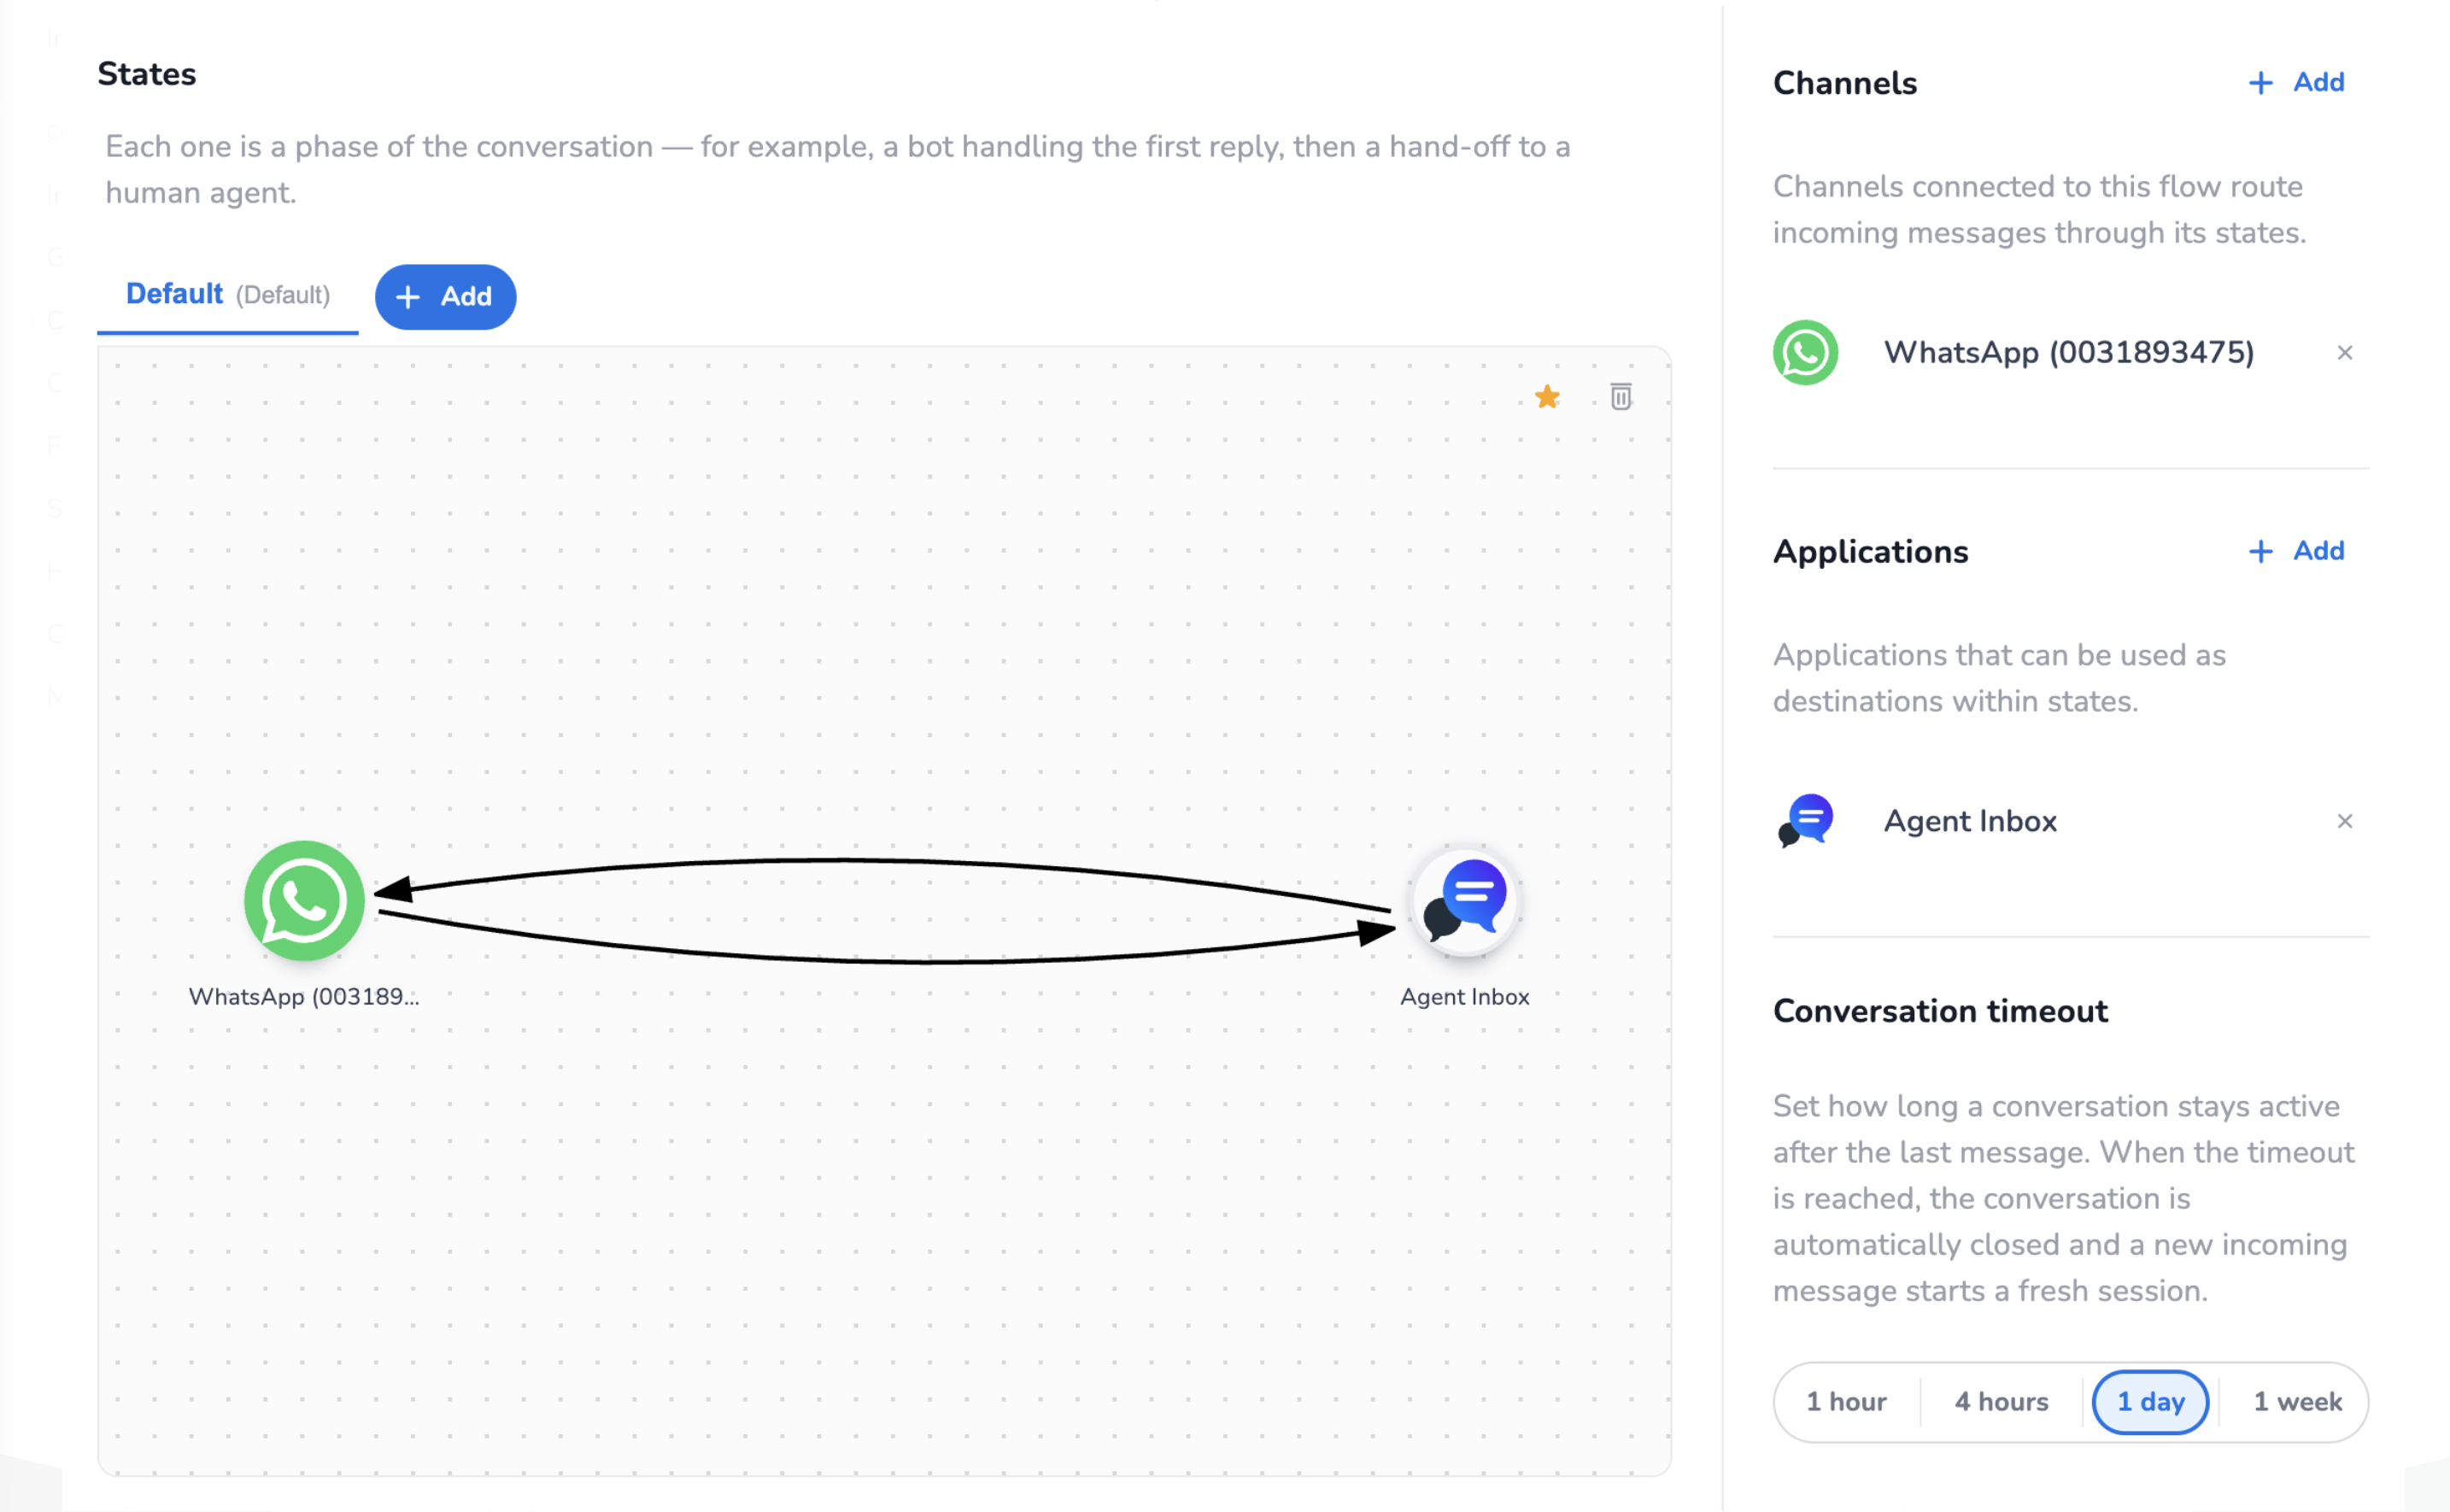
Based on the channels and applications chosen during onboarding, a default flow is generated and published immediately, so the system is ready to route messages without further manual intervention. The default flow's state is pre-configured with links between your channels and applications.
You can review the result on the Channels, Applications, and Flows pages:
Based on channels and applications chosen during onboarding, a default flow will be generated and published immediately, ensuring the system is ready to route messages without requiring further manual intervention.
The states within the default flow are pre-configured with linked channels and applications, ensuring seamless routing and functionality. This automated setup reduces the need for manual configuration and provides a ready-to-use environment for message routing.
Skip onboarding
If you prefer to configure settings manually, click the Skip button. If you have entered any data, a confirmation dialog asks whether you want to discard your changes.
By skipping onboarding, you retain the flexibility to configure everything manually later — channels, applications, flows, and states can be fully customized through the Channels, Applications, and Flows pages. This option is ideal for users who require a more tailored setup or prefer granular control over the configuration process.